Platform Desk Review and Set Up. I’ve had my eyes on the Platform Desk by Output for awhile now. After many years of using an office desk for my studio desk – with my monitors sitting on top of a board propped up higher with other boards; with no good space for my rack gear (had to store it under the desk and crouch down to access them); and with my keyboard so high on the desk top that my shoulders scrunched up under my neck and my wrists bent down in order to hit the keys properly, I was excited to get a desk designed for music makers like me! My poor ergonomics got worse when I bought the Native Instruments Komplete Control S88 keyboard. It’s a fantastic keyboard!! But, it’s bigger (thicker) than ones I’d been using before, and added yet another couple of inches of height for my poor piano-playing hands and wrists to strain.
Now that I was building a brand new studio, in my brand new house, I knew this was the time to take the plunge and get a “real” studio desk – one with a proper keyboard tray so I could save my wrists from further damage. About a year or two ago, my wife had actually sent me a link to the Platform desk on the Output website. In her message she said “you need this!” after watching me hunched over my desk for so many years. I remembered being super impressed with the Platform desk, so I dug up her old email and started doing more research on it.
I also researched desks from other brands. Without doing an exhaustive review of all the products (I can’t even remember most of them now) I will say that I had a hard time finding anything that could compete with the Platform desk in terms of looks, quality and price. Of course, I found some amazing desks, with lots of features and even customizability; however, those ones were also crazy more expensive (LINK to Argosy?) I also found some super cheap ones (like on Guitar Center) but, I really didn’t like the look of them. I had been initially drawn to the beautiful, natural wood of the Platform desk. There might be other similar products out there, but I couldn’t find any that looked as nice as the Platform desk – certainly not for a similar price.
And, the best part of all: The Platform has an option to add a keyboard tray!
To the point of options and customizability, this is where the Platform desk is not so strong. Really, the only “customizability” available is a choice desk color (dark wood or light wood) and, you can also add a keyboard tray (sold separately.) Initially, all this seemed OK to me, but, as I’ll describe below, after I purchased and set the desk up, I do wish there was slightly more ways to alter it for my needs. Not a huge deal though. In the end, I love the desk and, I’m sure the reason Output is able to keep the price so competitive, is because they are not building in lots of various customizations.
OK, now on to the unboxing and set up!
The Studio Space
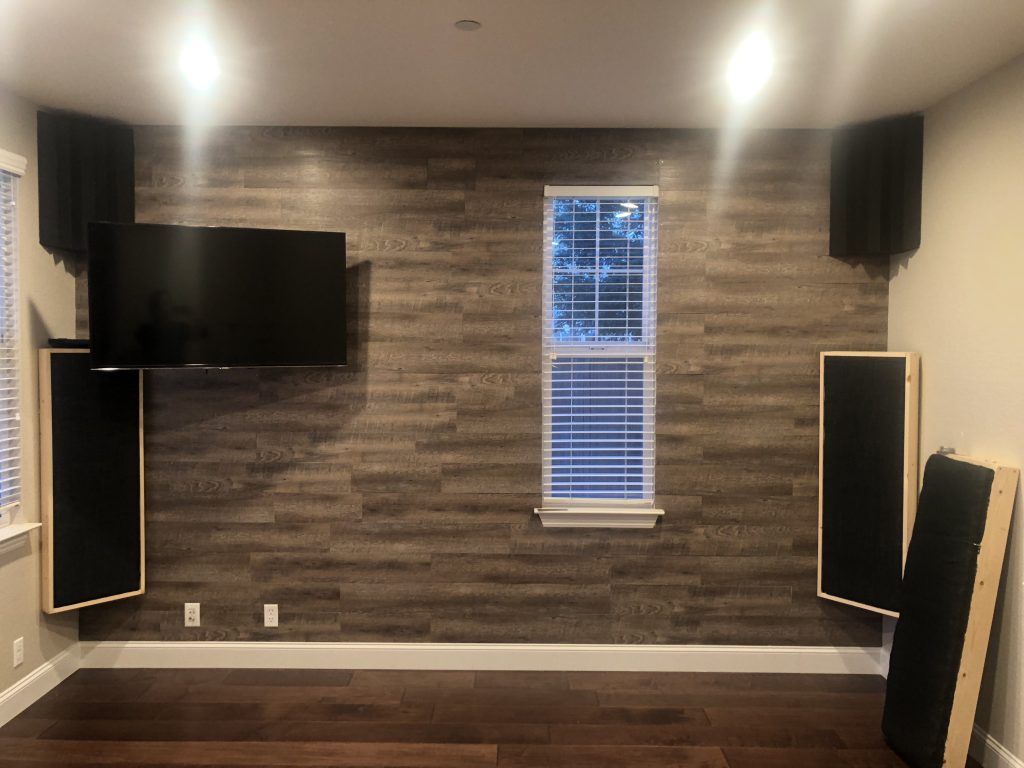
First, lets have a look at the space where I’ll be setting up my new Platform Desk. Below is a photo of my new (mostly empty) studio. I have a separate post, here, that talks about how I set this up as well as another post on how I approached acoustic treatment – including building my own acoustic panels.
Unboxing the Platform Studio Desk by Output
My Platform desk arrived on time, in 3 separate boxes, and, after doing an initial inspecting of the contents (always advisable!!) everything appeared to be in good shape. Ready to start putting it together! I’m one of those people who hate reading instructions, and often ignore them altogether. However, this time, I made sure I had the trusty instructions by my side from the start. One thing that helped, is that I can tell Output put a lot of time into making the instructions as easy to follow as possible. This includes greta attention to the design of the paperwork itself (yes, I notice these things!) Things were laid out clearly and in distinct steps – always appreciate seeing the steps ahead of me. And, in a project like this, as we shall see below, one must follow the steps in the order in which Output has explained – “skipping steps” and coming back later would not work out too well here.
OK, so first things first: check that all pieces, including the wood pieces as well as a each nut and bolt, is handy:

Platform Desk Set Up
What I cover below is by no means a complete instruction guide for putting the desk together; it’s more just sharing my experience and calling out anything that I think others should look out for. For a complete video showing the installation, be sure to visit the Output website.
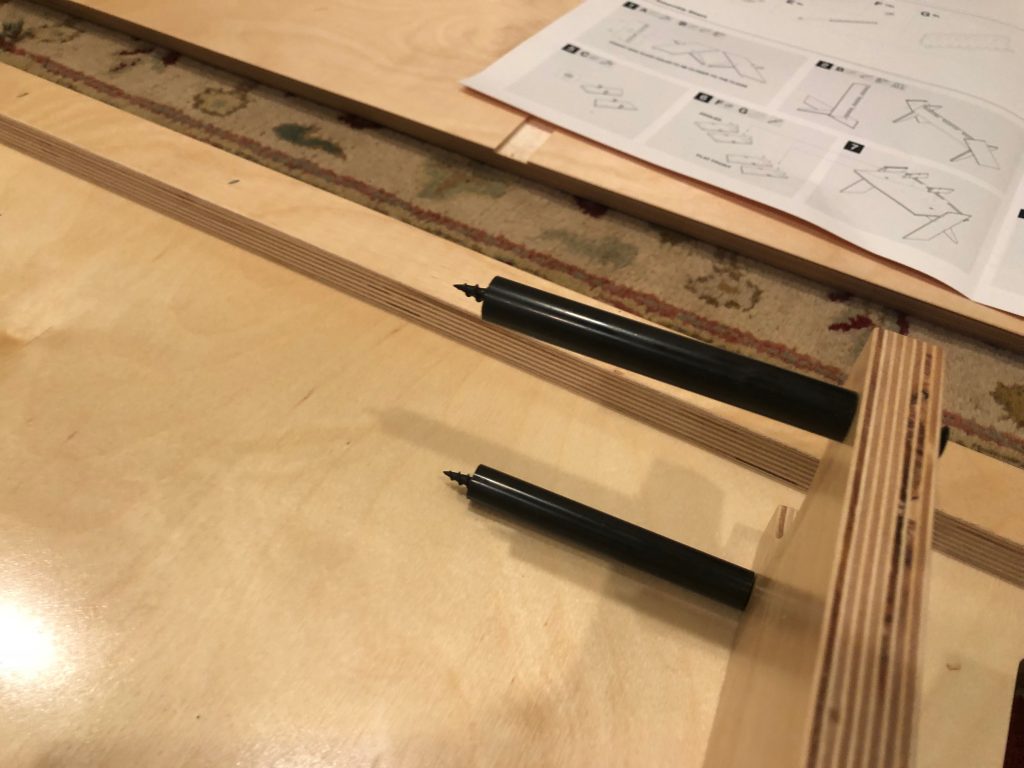
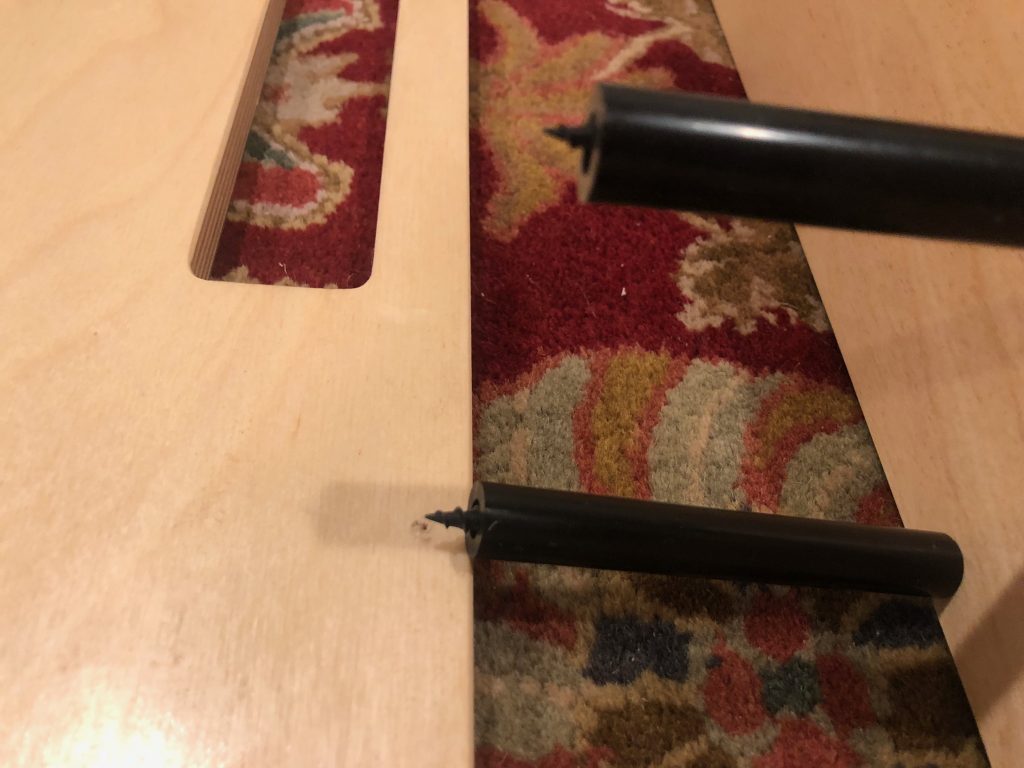
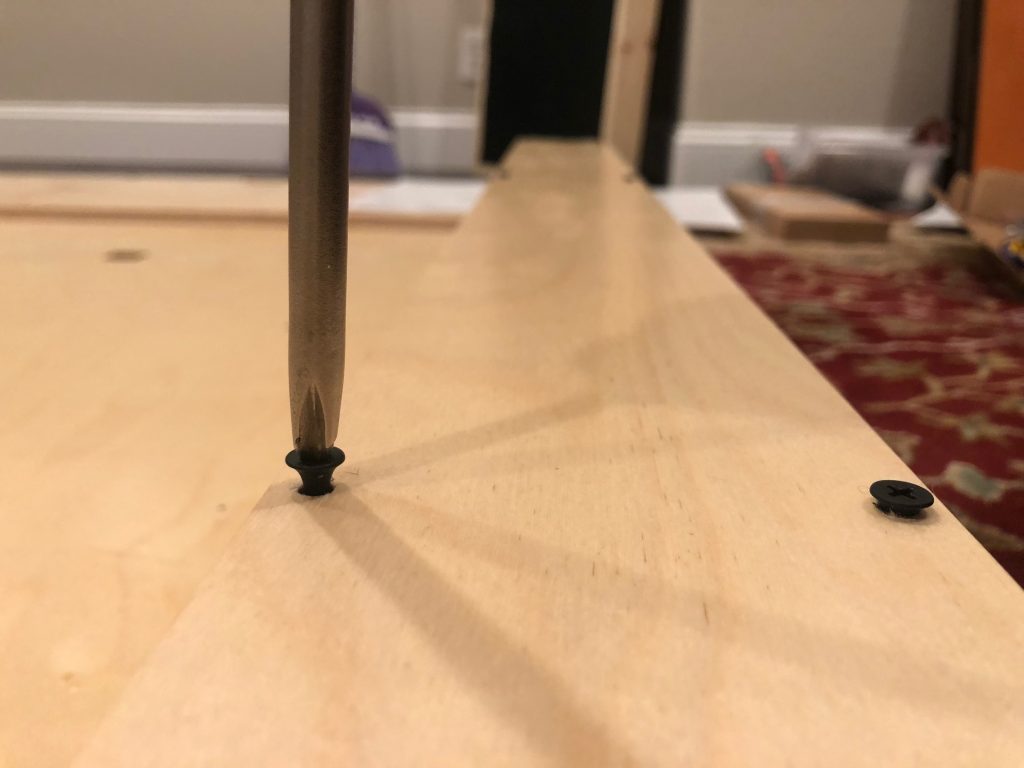
The first step is to put the desk legs together (they are those cool looking angled shapes in the photo above) and attach to the boards that make up the main structure of the desk. Sadly, I did not take pictures of this process (clearly, I was too focused.) After this was put together, I set it aside for the moment and moved on to construct what would become the cable organizer. These strange-looking black pipe things have long black screws running through them that I need to line up with the pre-drilled holes in the wood plank (see photo below.)
Once all the “black pipe things” are installed and lined-up, it’s time to screw them in…..
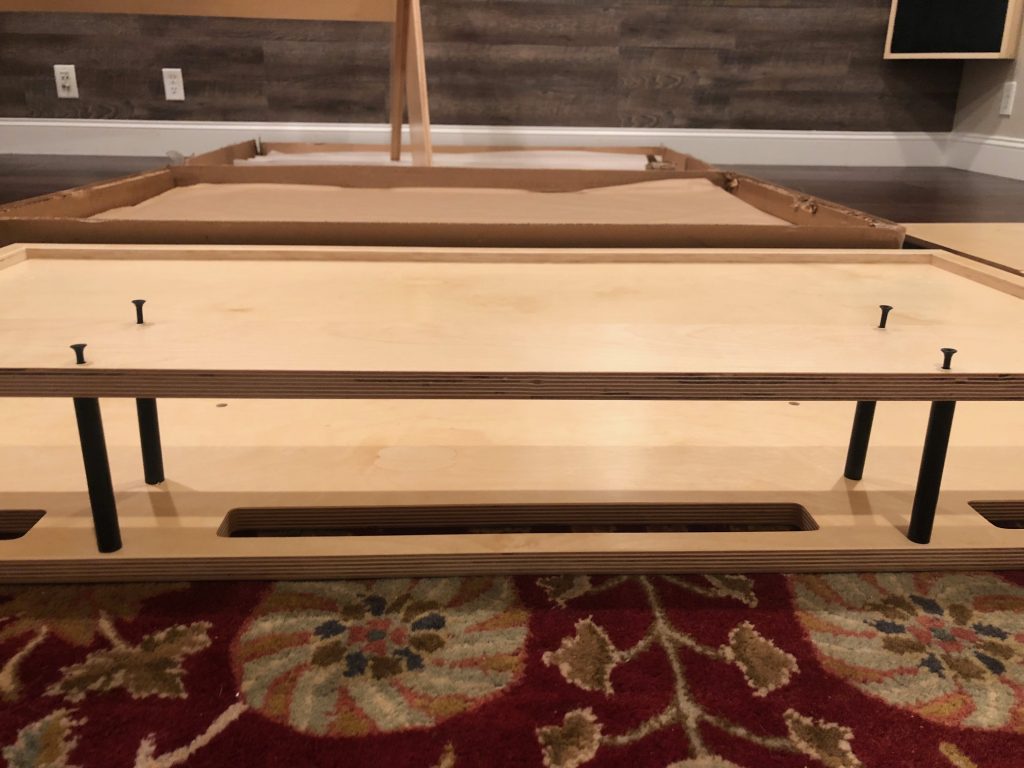
This was much harder than it looks as until I was able to get a good amount of them screwed in, the structure was quite wobbly and kept falling as I tried to hold each screw/pipe in place. This is why Output recommends having a friend around to help. I would need someone even more towards the end when I needed to lift and combine the final two pieces. Unfortunately, I was solo today with no help. If you’re planning to do this yourself, I would strongly urge you to find someone who can help.
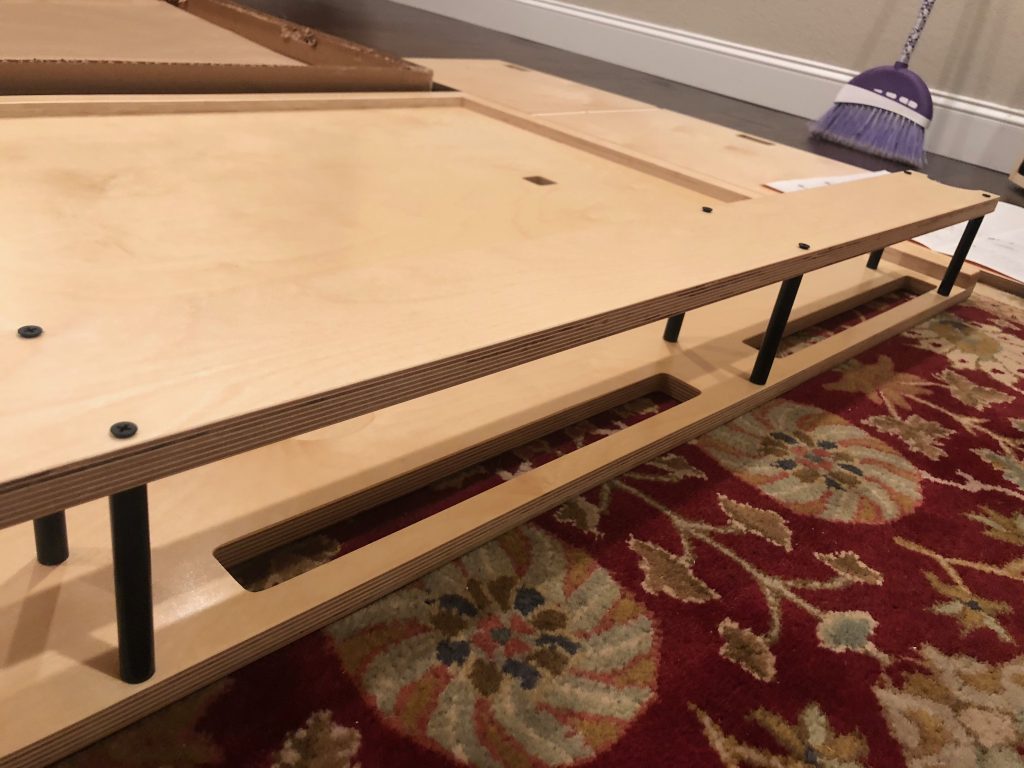
Cable organizer is done and attached to the main desk top.
Now, I’m on to making the side wings that will also include my keyboard tray. The long metal slider apparatus (shown in photo), would give me a little trouble as I needed to essentially break some pieces apart and I was nervous about breaking the wrong piece! Also, the slider thing is a little greasy (the instructions warned me about this.) So, be sure to have a paper towel handy to clean your hands.
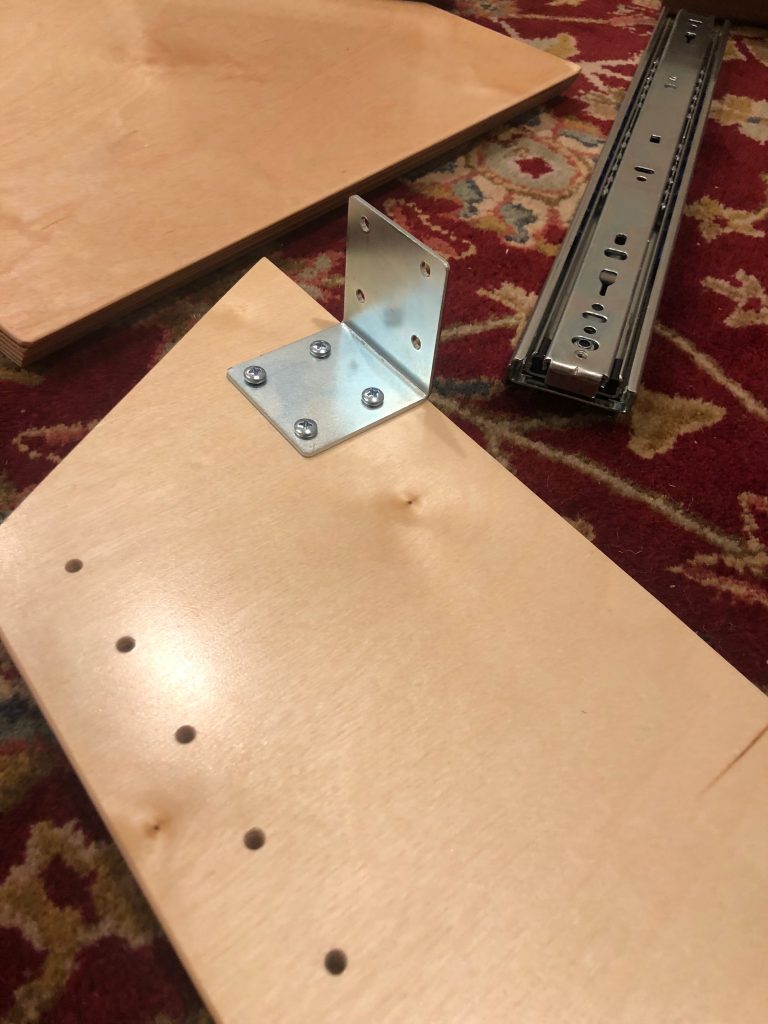
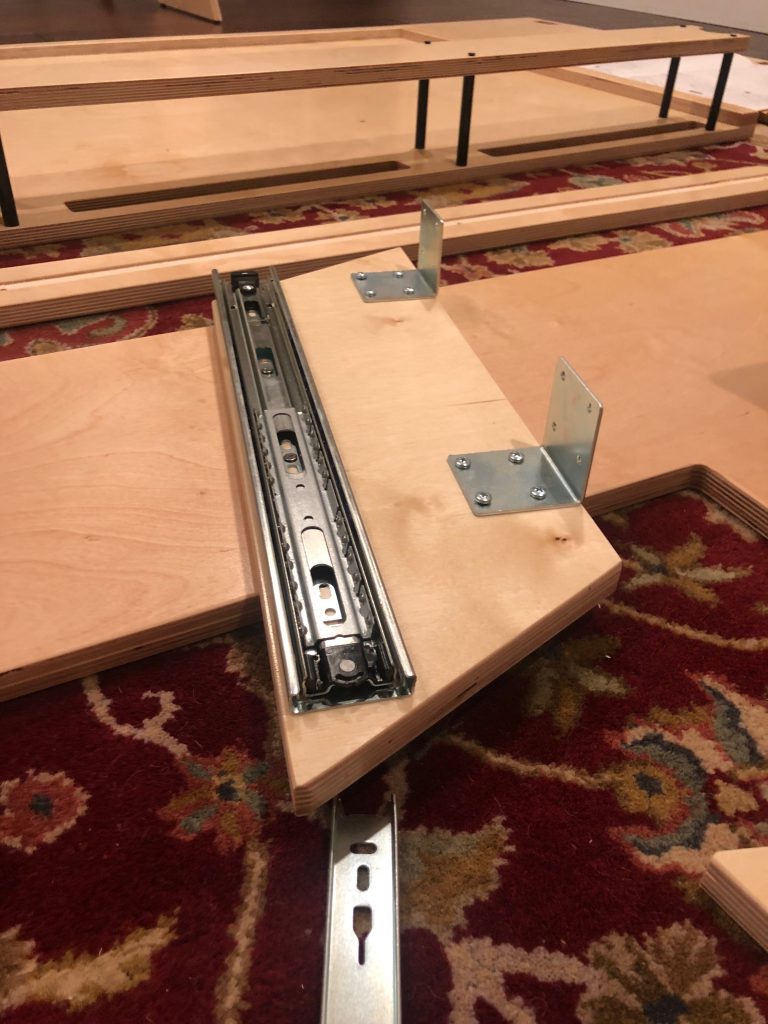
Look at that fancy slider!
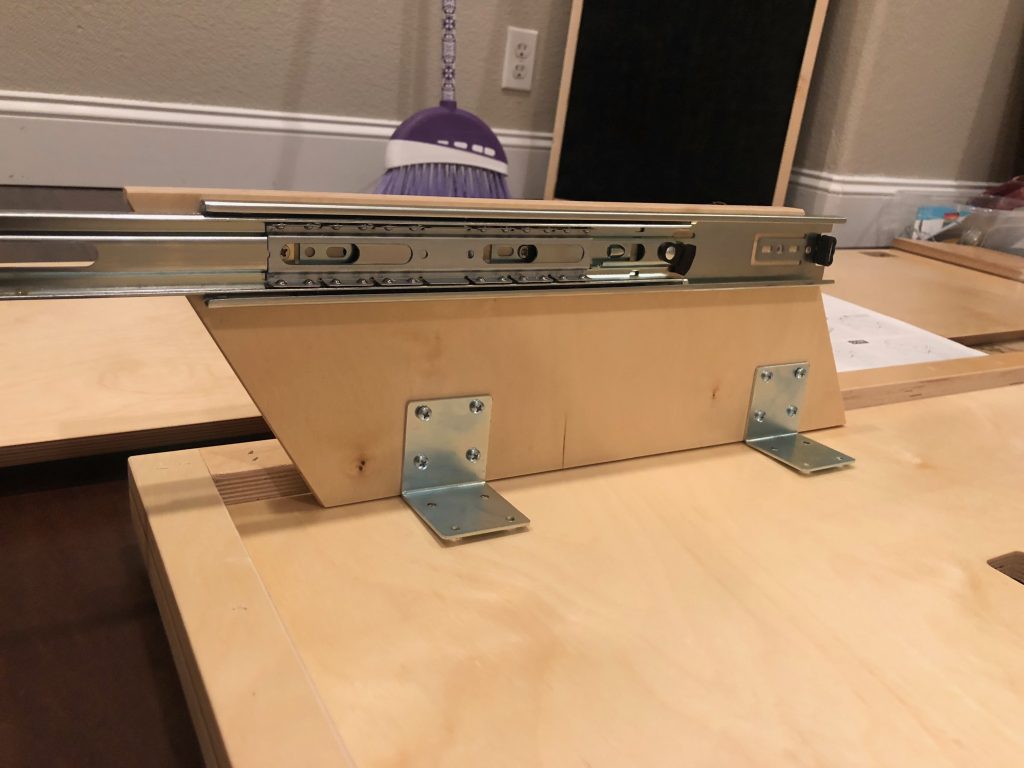
In the end, it all worked out fine and I attached the metal pieces to each wing of the keyboard tray and each of those to the main desk top (Below.)
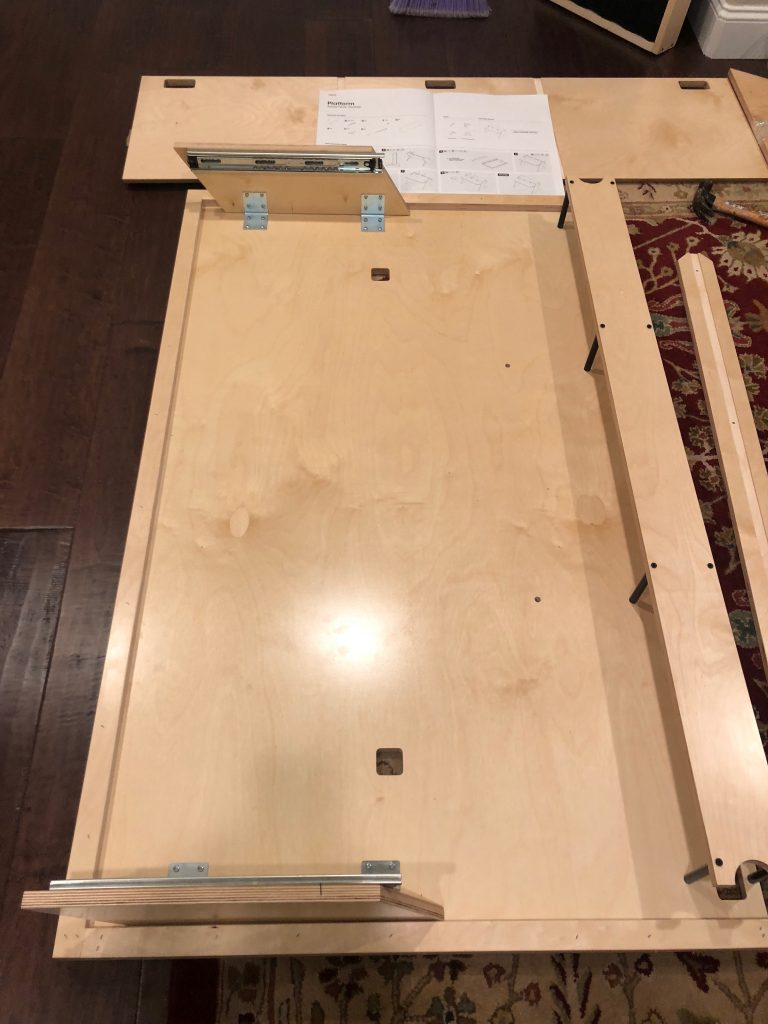
Attaching the Keyboard Tray
Putting the keyboard tray together was easy! Now ready to combine with the metal sliders I already attached to the main desk.
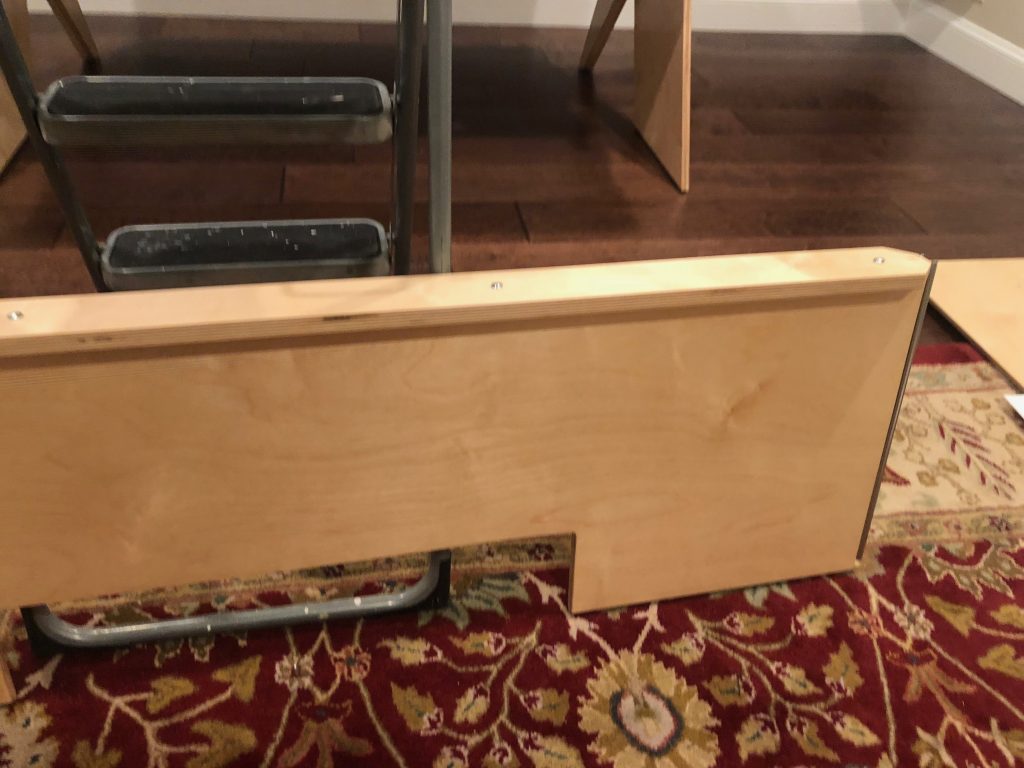
For the final steps, I needed to attach the keyboard tray to the main desk top that I put together (above) and then lift and attach this combined unit to the structure I put together first. And…..this is last part is where I really needed a friend to help. After this, I added the black metal rack pieces to complete the rack mounting units; this was easy.
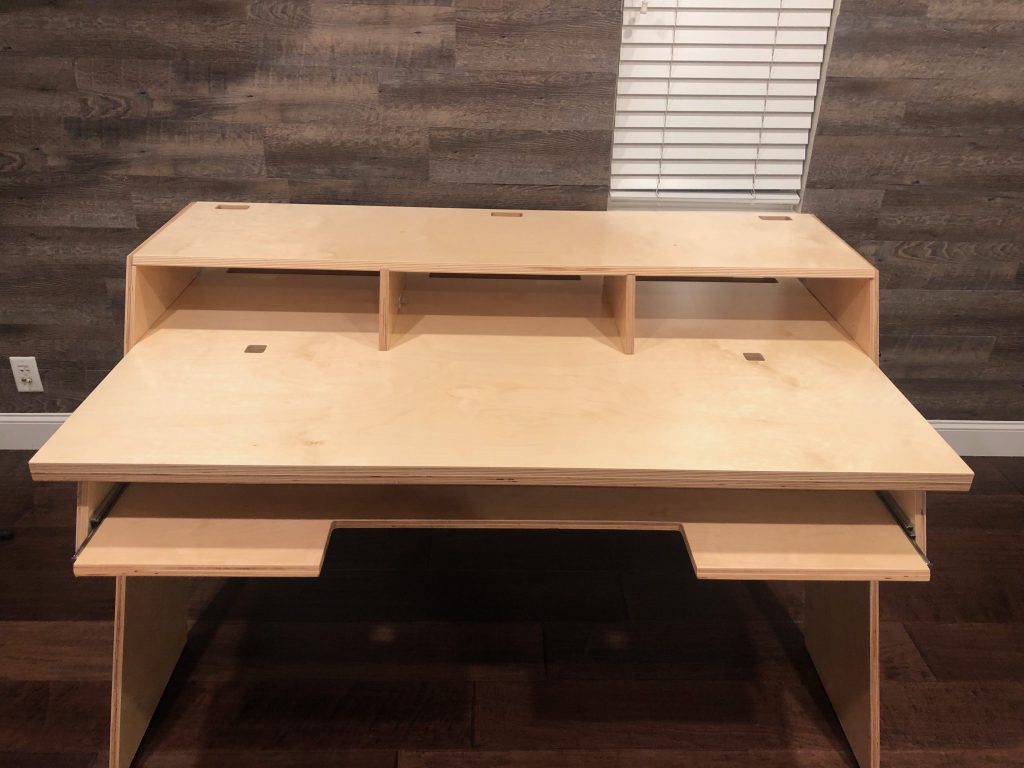
And finally, the fun part! Fill it up!
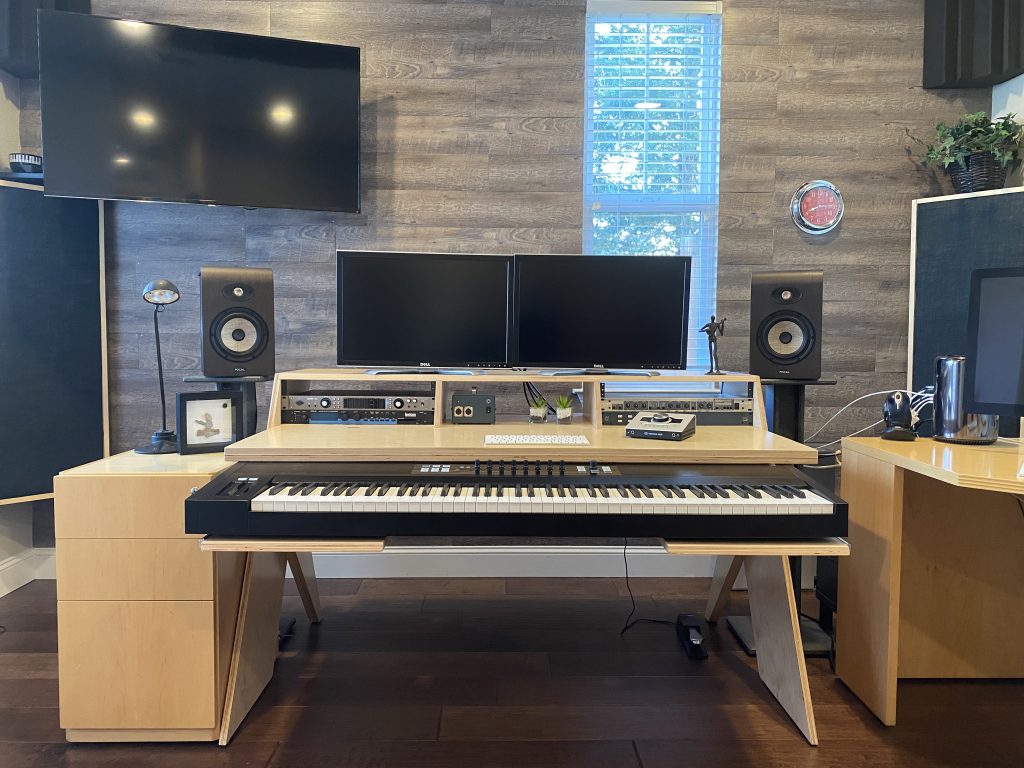
Unfortunately, the Platform desk does not support my Native Instrument Keyboard: S88! I can still make it fit (as you can see in the photo below), however, it’s just a tad too wide and with the control knobs on top of the keyboard, it cannot slide under the desk. This is a huge disappointment as this was one of the main reasons I wanted a new studio desk: for a comfortable keyboard tray that I could slide away when not in use. Oh well, I’ve been able to make it work. As Output suggests, I’m considering moving the S88 to sit on the main desktop and then use the keyboard tray for my mouse and computer keyboard (and other controllers.) This approach would be nice, as having the mouse/keyboard on the desktop, and having to reach over the S88, is killing my back! I’m not excited about having my main keyboard raised so high (if I move it on the desktop), but this might be the way to go. For now, however, it’s working fine.
Final Thoughts
Do I love my new Platform desk? Heck yes I do! It is a beautiful desk and goes so well with the other furniture in my studio. It’s the perfect size for a studio like mine (a room about 10′ x 15′). It was also very easy to put together (it would have been easier if I had a friend around to help me!) While I love having the keyboard tray, it is a big downer that it’s not quite big enough to properly support my keyboard (as I describe above.) As I do the majority of my work using my S88 keyboard, it’s a critical part of my studio and I have built everything else around it. As well, the main desktop is quite wide. Therefore, the fact that I can’t slide my keyboard under it, means that the distance from my eyes to the computer screen is a bit farther away than what I’m personally used to. And, as I reference above, I need to constantly reach over my keyboard to access my computer keyboard and mouse. This is not a deal breaker, but does fatigue my back and arms a bit if I’m working long hours (another reason to take frequent breaks!)
For the price and quality of desk, I think the Platform desk is a no–brainer for someone like me who has a small composer-based studio. If you are a keyboard player and you have a keyboard that Platform desk supports, then, you should definitely get the keyboard tray. If you have a larger keyboard like me, you should be aware that the keyboard tray might not be able to slide under the desk and will need to remain out – and, if it’s too big of a keyboard, it might not fit at all.
Yeah Hey Peter,, I don’t know this suggestion would help or if you got anybody did make a suggestion on your soundproof door to choice in there but I was thinking That if you were to buy some Velcro and stick it on your door And your door blanket you sound proved or blanket then maybe you could get your sound prove my get closer to the wall with out having a gap between your door at the top around the sides anymore I hope this suggestion helps hope you like this idea and I hope That you will try it out
Hey John, thanks for your comment and idea! In fact, that does sound like a good idea and, as you suggest, getting the blanket much closer to the door/wall would reduce the gap. (Also, the use of velcro is nice because I could take it off easily!) It would definitely have to be strong velcro, as the blanket is heavy! Also, I guess in order to attach the Velcro to the blanket, I’d need to find some I could sew on? I don’t know if the sticky kind would stick to the fabric of the blanket. Certainly worth investigating and, a good suggestion for others who read this post and want to try it as well. Thanks again John. I’ll let you know if I end up getting it to work!
That S88 looks *so close* to fitting that I’d bet if you were able to cut a new keyboard tray, you’d be able to make it fit.
Of course, you’d have to hack away at the side rails on the underside of the desktop to widen the brackets and it probably wouldn’t look so good from the sides.
Thanks for the inspiration. Although I don’t own an S88, I may build to suit one just in case of a future purchase.
Hi Matthew, thanks for the comment and ideas. Yes, you are right, the S88 is *so close* to fitting under the desk. I’ve been trying to decide how much “hack” work I want to try to get it to fit without destroying the look of the desk. Technically, I can easily lower the tray, which would give more room for the knobs to fit under, but, as you say, it’s the widening of the side rails that is the issue. It’s literally about 1/2 inch too wide! It seems like it would be easy to widen, and maybe for someone who is more handy than myself it would be….but I haven’t taken the plunge to try just yet. Since I use the S88 90% of the time anyway, it’s not a huge deal that I can’t hide it under the desk…it’s just permanently out. Thanks again!