How to Soundproof a Door
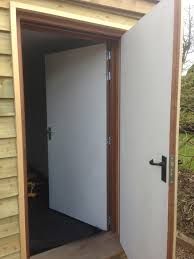
When approaching the soundproofing your home studio, the door can often be the weakest link, and therefore the most critical to get right. While the walls, and even windows, can be airtight and sealed, the average interior home door is the one place with openings to the outside. Even that small space between the door and the floor is enough to leak out (or in) a substantial amount of sound. It can be disappointing to put so much effort into soundproofing the rest of your studio, only to have the door mess it all up!
In my case, the door in my new home studio is the only connection between my space and the rest of my house. This is because 3 of my studio walls, as well as the ceiling, are not attached to the rest of the house (no rooms around them.) Only the wall with the door, and the door itself, connect to the house. So, the door became my primary focus for reducing sound transmission in to, and out of, the room. To learn more about room acoustics in general, including how to build your own easy acoustic panels, be sure to visit my post on room acoustics and DYI acoustic panels.

The Double Door Approach
If you really, really want to learn how to soundproof a door, this is how the pros do it. And, if I was building a studio from scratch, or, if I really wanted to do some serious renovation on my house, I would build a double door set up: one stand alone door, with some air/space between another stand alone door. This double door method is the “ultimate” way to prevent sound from leaking in to, or out of, a room. Because I use my studio mostly for composition, producing and mix – with relatively low volumes (e.g. not many drums or amplified guitars) – the double door would have been overkill for me.
The Single Door Approach
So, now that I’ve tossed the double door idea out, how do I treat this lone door to make sure I’m doing my best to prevent sound from escaping?
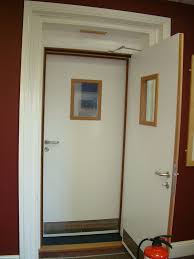
The first thing to check: is it a hollow door or a solid door?
This is big! Many interior doors are hollow and this is not good for keeping sound contained. You really want a solid door (mass means sound can’t go through as easily.) Lucky for me, the door of my studio is already solid. If you are trying to sound proof your door, and it is hollow, I would strongly urge you to swap it for a solid door. I know this is a hassle (and can be expensive), but, in the long run, it will be worth every penny.
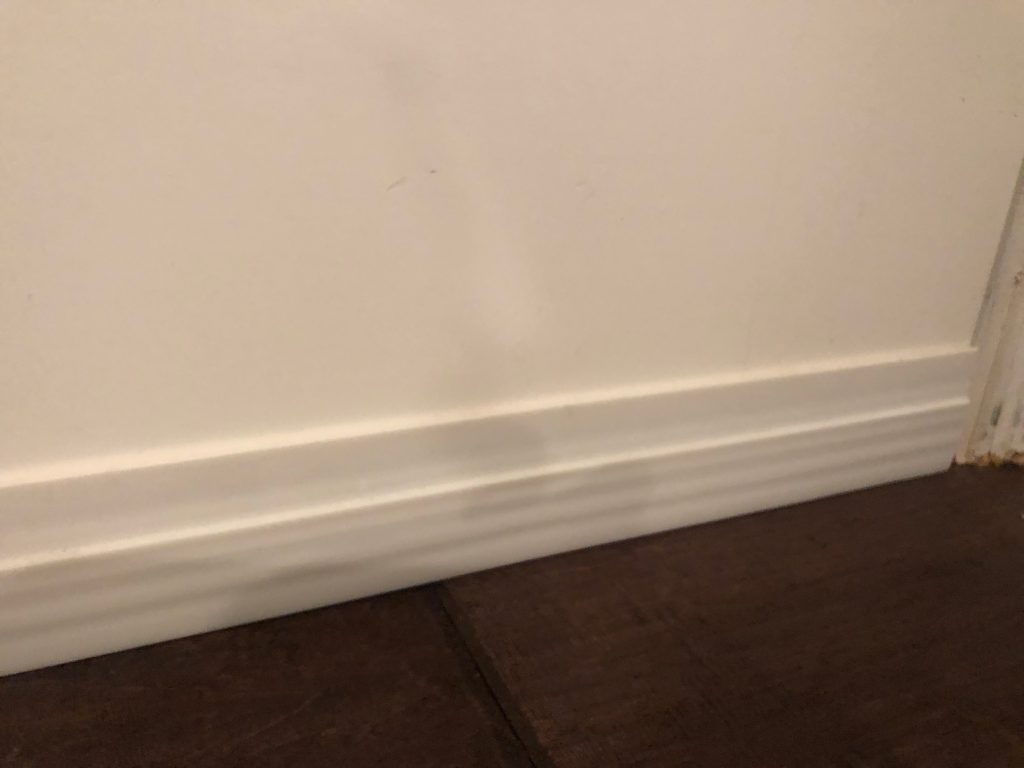
The next thing I looked at was how to seal the spaces around the door. What I’m talking about here, are those tiny air spaces that remain between the door and the door frame, even when the door is fully closed. Luckily, there is an inexpensive solution for this! You can use the same material that you use to seal your windows and exterior doors from the outside. (Remember, if your windows and exterior doors weren’t airtight, you’d be freezing at night!) So, I researched soundproof weather stripping on Amazon and found a couple of options. One product came in a kit, that included a door sweep to cover the gap between the bottom of the door and the floor.
This was the exact kit I purchased off Amazon (the red and white roll on the top is the door sweep):
I also stumbled upon a similar product, that was considerably thicker, which should work better for sound proofing. Because these products are relatively inexpensive (around $12 each), I thought I would try this other version as well (note this thicker one does not include the door sweep.)


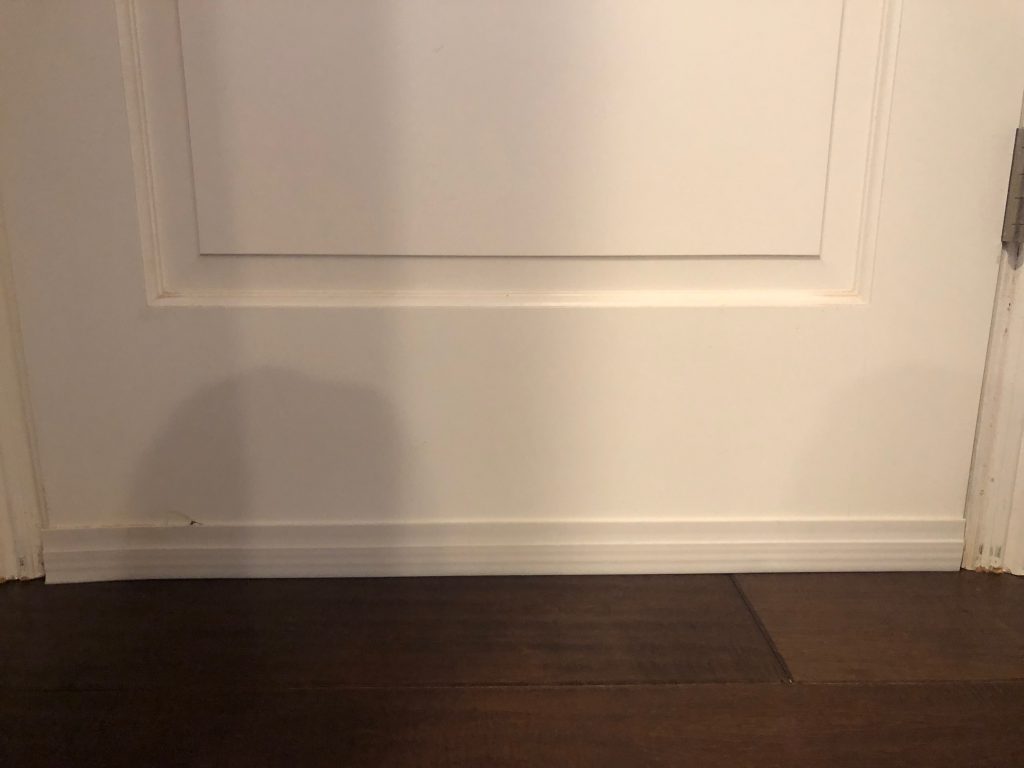
Step 1: Add weather stripping around the inside of the door jamb/frame (I’m not sure what this part of the door is called, but you can see from my photo below where I’m putting the weather stripping.) The material was easy to install and only took me a few minutes to wrap around the entire door jamb/frame. I actually tried the thicker product first (the black one), but it was so thick I was not able to close my door. Even the much thiner white one (which is the one in the photos below), requires me to really “push” hard to close my door. I guess that means its a tight fit! FWIW, the blacker, thicker product seemed really nice and I plan to use it in other areas of my studio some day.
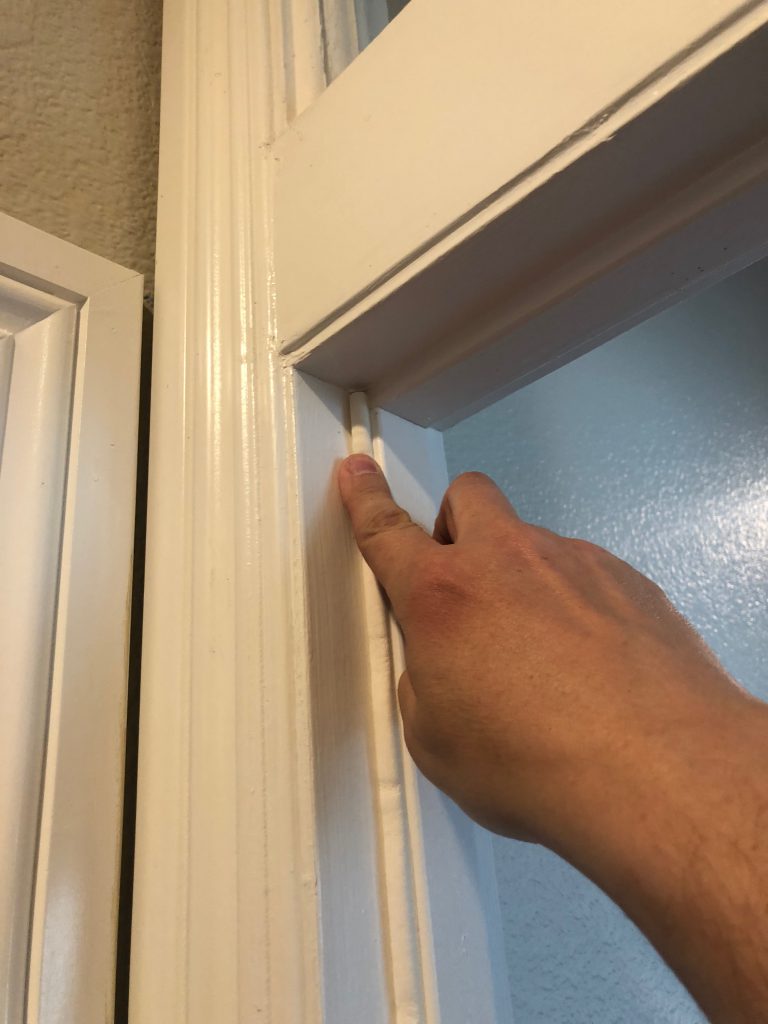
But, I had to take off the door lock cover, because the weather stripping was too thick and I couldn’t close the door!
Step 2: Attach the door sweep. This part was a little more difficult. The adhesive is so strong that when I initially placed the door sweep on the door, in a first attempt to position it, it stuck so hard to the door (even with little pressure), that it ripped off some of the door paint as I re-adjusted the position. Dang – powerful glue! It’s tricky. You need to get the door sweep so it’s just touching the floor (to create that seal). But, if you go too far, you can’t move the door (at least not easily.) In the end, I was able to position it and attach it OK.
If you look closely, towards the left top of the door sweep, you can see a small dark mark – this is where I tore the pain off!
However, as you’ll see below when I do my final test, I was not able to fully seal the bottom of the door: there is still a very small air gap at the bottom. To be honest, this type of door sweep might not be the best for us music makers. I feel that this type is more for keeping the heat in and insects out of a room. So, I decided to try a different approach for the bottom of the door, as I go over below. One of my music producer friends uses a different door sweep that he is happy with. It is this one here:

Step 3: The Flashlight test. Once I was done, it was time to check my work using the “flashlight test.” Grabbing a flashlight, and a friend, I had him stand inside my studio and shine a flashlight around my door (best to do this at night, with the lights out!) The idea is that you shouldn’t see any light through the door at all. If we do see light, that means there is an air gap for sound to leak through. Unfortunately, I had a very small gap at the bottom of my door – that darn door sweep that caused me grief installing, was lifted just a millimeter off the ground letting a small sliver of light (sound) through. As it was too late to move the door sweep, I had to try other things to remedy this. Fortunately, I had been planning to use a heavy blanket as a last full cover for the entire door.
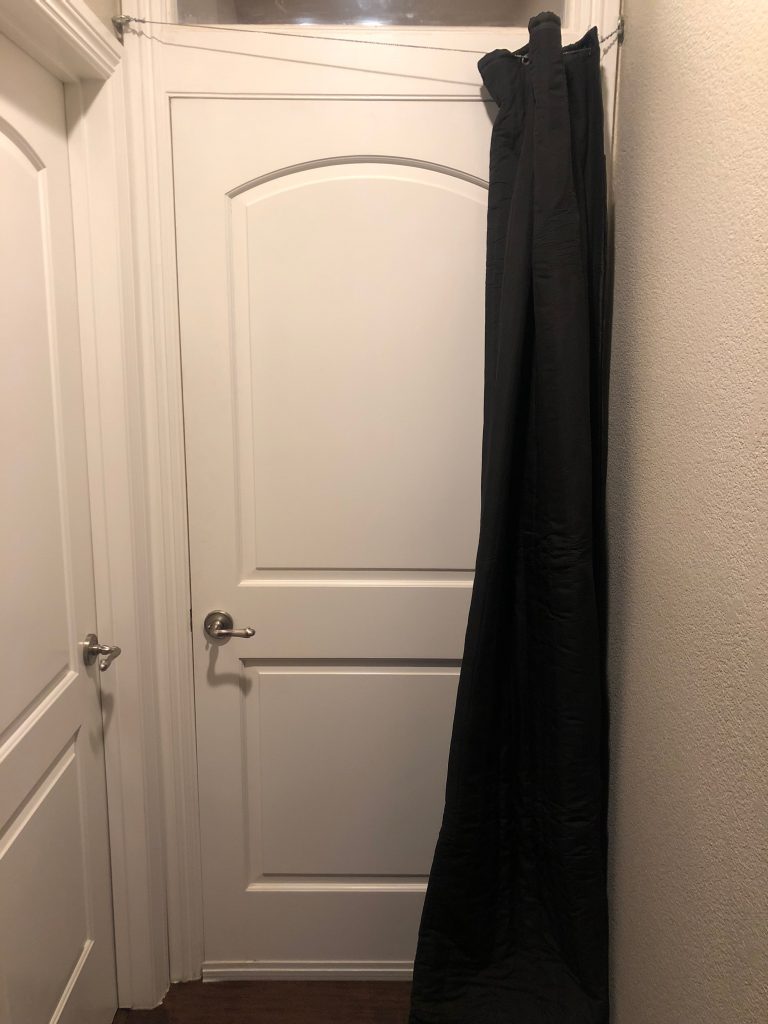
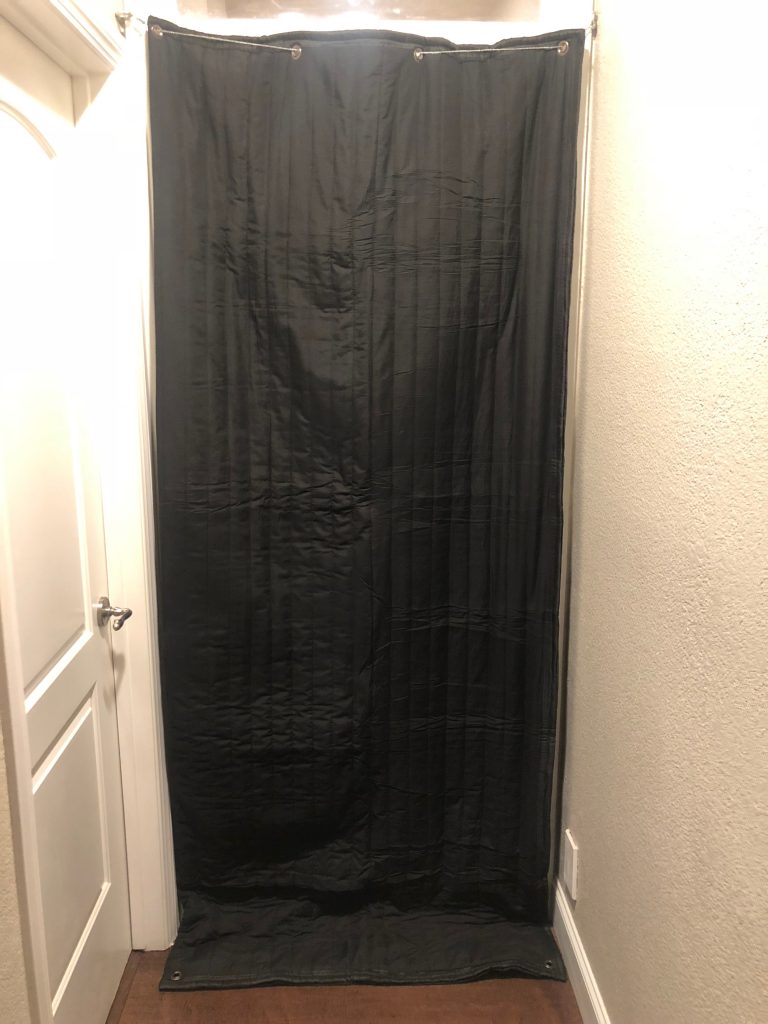
Step 4 (optional): Cover in Blanket. While weathering stripping did help reduce the sound in and out of my studio a decent amount, it wasn’t quite enough for me (maybe that millimeter of gap with the door sweep?) I had thought about using a moving blanket as I have heard that they are good at damping the sound. Just as I was researching my local moving companies to purchase one, I stumbled upon a new company, Vocal Booth To Go, that had a number of decently-priced products that people were giving great reviews to. The product that caught my eye is the called: The Door Noise Control Cover (Just what I’m looking for!) Compared to many other sound proofing products I’ve seen, this Door Noise Control cover was very fairly priced and looked great (see photo below from their website.) So, I ordered one!
The picture below is taken from the Vocal Booth To Go website (not my studio) and it looks like they have got it attached pretty snug against the door. My install would be a little more “loose.”
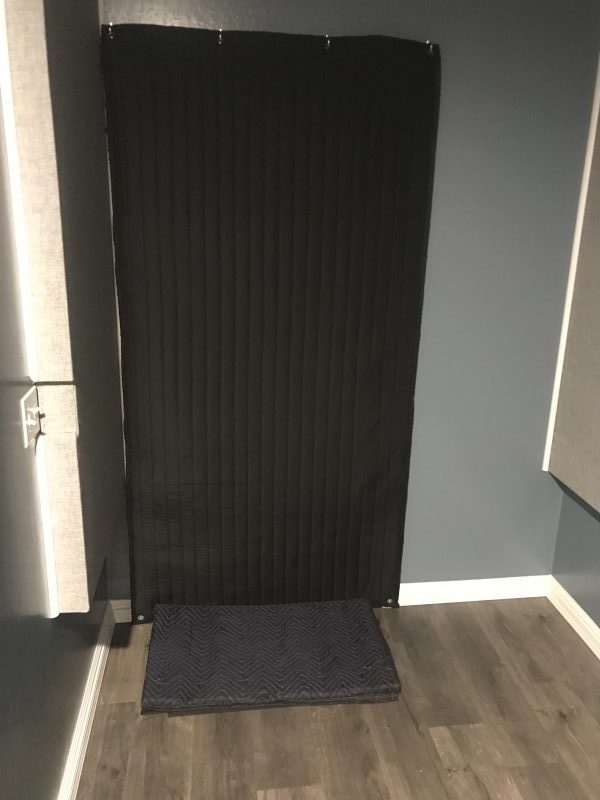
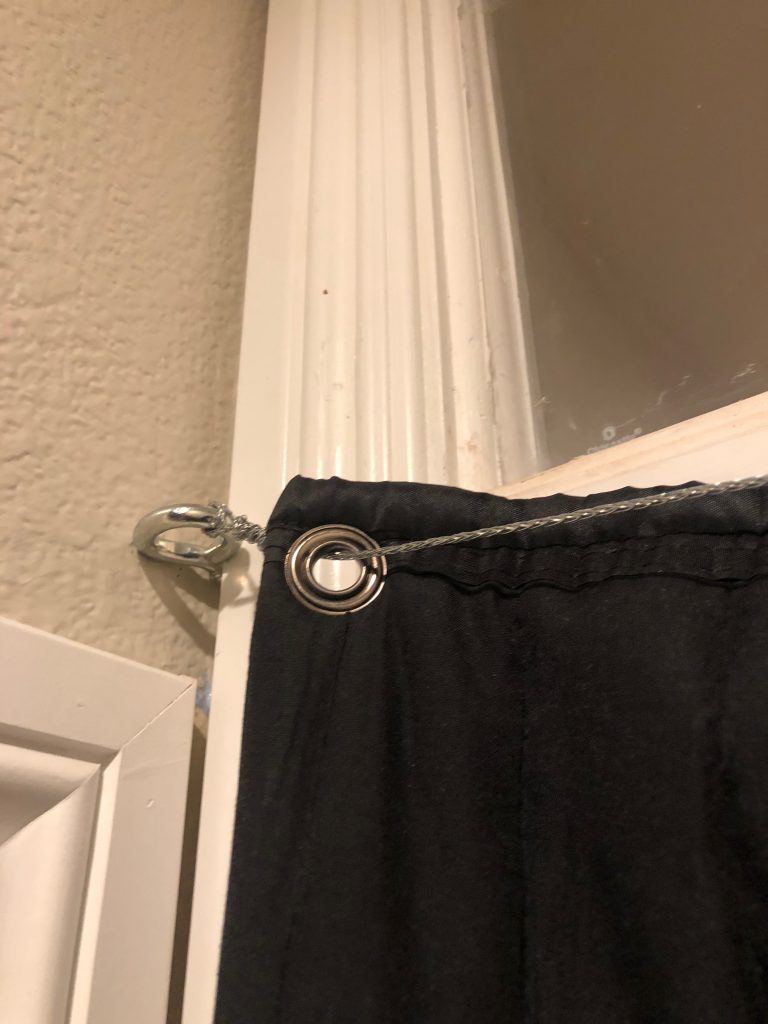
I wanted to be able to open and close the blanket (so I can easily leave my studio through the door!) I bought some fish-eye screws, which I attached to the wall on the left and right sides of the door, and then I attached a strong metal cord (same type of wire used to hang a mirror) through each fish-eye screw and then through the grommets (holes in the top of the blanket), similar to how you would hang/install a window drape. Now I can pull the blanket open and closed as needed. Worked perfect!
The Results
I thought I would try to quantify the before and after impact of the new blanket. I found a free decibel meter app for my iPhone and did a test with the blank on and off the door. With the blanket covering the door, the sound was reduced about 1.5db (according to the decibel app.) I could definitely “hear” a difference. With the door covered, the sound was more muffled – more quiet. Keep in mind that my installation had a loose fit – perhaps if the blanket is attached more to the door and door frame, the results would have been even more significant. Still, I’m happy with the The Door Noise Control Cover and plan to use it on my door.
In summary, I do want to reinforce that my approach is certainly does not create a 100% sound proof room.. Again, because of my primary use (and low volumes), this solution works great for me.
Want to treat your door? Here’s a quick checklist:
- Where possible, start with a solid door!
- Sound enters/leaves from ANY space (air gap). Goal is to create a solid seal around the entire door.
- Use weatherstripping for sides and top of door.
- Use door jam/wedge for bottom.
- Use flashlight to test work. Where you see light shining through any cracks, this is where the sound will also travel.
- Consider blanket for door body.
To learn more about room acoustics in general, including how to build your own easy acoustic panels, be sure to visit my post on room acoustics and DYI acoustic panels.
Watch the video!!